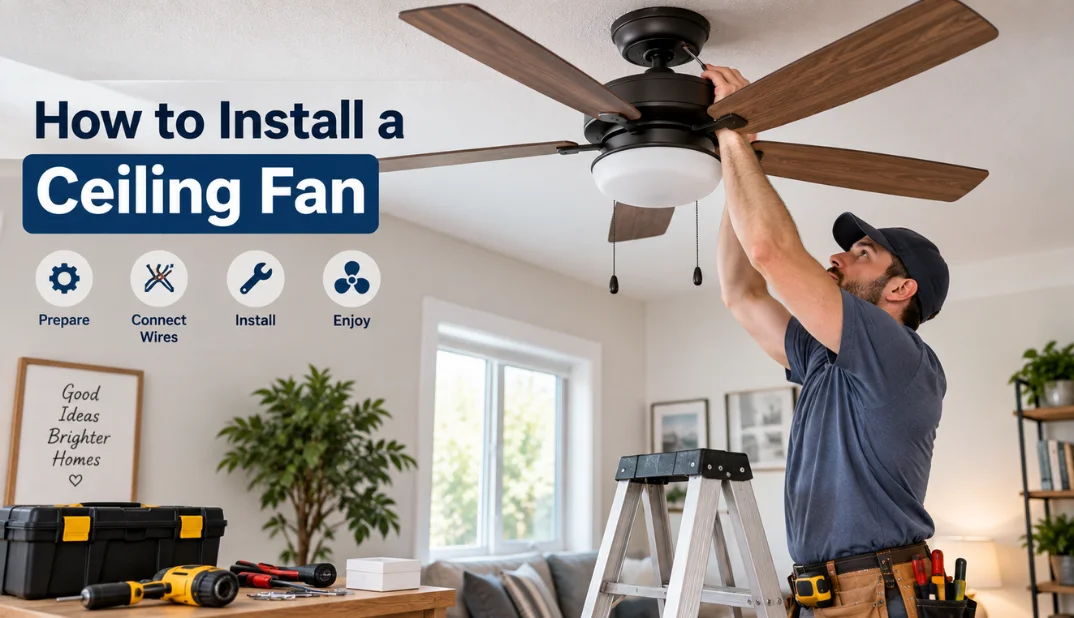
Installing a fan can be a practical DIY project when existing wiring is usable. If you want to learn how to install a ceiling fan, start by checking support and power. The safest jobs begin with a fan-rated box, a dead circuit, and the manufacturer’s instructions.
Turn off the breaker, verify the circuit is dead, and remove the old fixture. Confirm the box is fan-rated and firmly supported before mounting the bracket. Then assemble, wire, secure, blade, and test the fan according to its manual and local electrical requirements.
| How to Install a Ceiling Fan | What to expect |
|---|---|
| Typical DIY difficulty | Beginner to intermediate |
| Common replacement time | About 1–2 hours |
| Main safety concern | Electrical shock and improper structural support |
| Required support | Fan-rated electrical box or approved structural support |
| Typical tools | Voltage tester, screwdrivers, ladder, pliers, drill, wire strippers |
| Call an electrician when | New wiring, unclear circuits, unsafe support, or local rules require one |
Hunter estimates about 1 to 2 hours to replace a light fixture with a fan. A new location without existing wiring can take two to four hours or longer. Those jobs are also better candidates for a licensed electrician.
Key Takeaways Before You Start
A standard light-fixture box should never be assumed suitable for a rotating fan. Look for markings showing that the box is approved for fan support. Also verify the circuit is dead before touching conductors, because contact with energized wiring can cause shock or electrocution.
Your model’s installation manual takes priority over generic wiring diagrams. Wire colors are common conventions, but unusual or older wiring may not follow them. Stop if the wiring does not match the expected configuration.
For U.S. homes, local electrical requirements can also affect the project. Permits, inspections, and adopted code editions vary between jurisdictions. Check your local building department when the job involves new wiring or circuit changes.
What You’ll Need
- Non-contact voltage tester or suitable electrical tester
- Stable stepladder
- Phillips and flathead screwdrivers
- Wire strippers
- Pliers
- Drill and suitable bits
- Approved wire connectors
- Adjustable wrench, if required by the fan
- Fan-rated electrical box or brace, when needed
- Eye protection
- The manufacturer’s installation manual
- A helper for heavier or awkward models
Gather your tools before shutting down the circuit. This reduces unnecessary trips between the ladder and breaker panel. It also helps you keep the work area organized.
Why the Electrical Box Matters
A rotating fan adds weight and creates vibration and movement that a basic lighting box may not handle. NEC Section 314.27(C) addresses boxes used to support ceiling-suspended paddle fans. Boxes used as sole support must be listed and marked for that purpose.
The National Electrical Code sets a 70-pound limit for fan outlet boxes used as sole fan support. Boxes supporting more than 35 pounds require appropriate maximum-weight markings. Local amendments can change applicable requirements, so verify the rules where you live.
If replacing the box damages the surrounding finish, repair that area before final assembly. Homoya’s ceiling texture guide explains common ceiling finishes and repair considerations. A clean, flat surface also helps the canopy sit neatly against the ceiling.
How to Install a Ceiling Fan: 8 Safe Steps
- Turn off the breaker and verify the power is off. Switch off the breaker serving the existing fixture, not only the wall switch. Use a voltage tester on the ceiling conductors before touching them. If the tester shows voltage, stop and identify the correct circuit.
- Remove the existing light or old fan. Support the fixture while removing its mounting hardware and wire connectors. Photograph the existing connections before separating anything. Set the old fixture and hardware away from your work area.
- Inspect the electrical box and structural support. Look for markings stating that the box is suitable for fan support. Confirm that it feels solid and does not shift under light hand pressure. Replace an unsuitable box with an approved fan box or brace system.
- Install the mounting bracket and assemble the fan. Fasten the supplied bracket exactly as the manufacturer directs. Assemble the downrod, canopy, and motor components on the floor when possible. Tighten required set screws, pins, and fasteners before lifting the assembly.
- Hang the motor assembly and connect the wiring. Many brackets let the motor hang temporarily while you make connections. Typical U.S. systems use white for neutral and green or bare copper for grounding. Black commonly powers the motor, while blue often powers an included light.
- Secure the canopy and tuck the connections inside. Make sure every connector is secure and no unintended bare conductor remains exposed. Fold the conductors neatly without forcing them against sharp edges. Raise the canopy and secure it with the supplied fasteners.
- Attach the blades and light kit. Install blades in the order described by the manufacturer. Tighten blade hardware evenly because loose connections can contribute to vibration. Connect and secure any light kit using the model-specific instructions.
- Restore power and test every function. Turn the breaker on after you fully assemble the fan. Test every speed, light setting, pull chain, wall control, or remote function. Switch the power off again if you notice unusual noise, movement, sparking, or overheating.
Hunter and Lowe’s both emphasize checking fan-rated support before completing installation. They also recommend following the model-specific manual for final mounting and wiring. Generic instructions should supplement the manual, not replace it.
Understanding Common Fan Wiring
Most modern units use a black motor lead, white neutral lead, and green grounding lead. Models with lights often include a blue conductor for the light. House wiring can include an additional red switched conductor. With one wall switch, some manufacturers direct both motor and light leads to the same switched hot conductor.
Separate switches usually require separate switched conductors for independent control. Always follow your fan manual because receiver-equipped and smart models can use different connections. Do not guess when wire colors or circuit behavior differ from the instructions. Older homes can contain wiring configurations that need professional evaluation.
A licensed electrician can identify the circuit without relying solely on conductor colors.
What to Do If the Fan Wobbles
First, turn off the power and check mounting, blade, and bracket fasteners. Confirm the hanger ball or mounting system is seated exactly as the manufacturer specifies. Correct any loose structural connection before balancing blades.
Small blade differences can also cause movement after installation. Homoya has a dedicated guide to balancing a ceiling fan after the mounting hardware is verified. Do not treat balancing weights as a repair for a loose electrical box.
Significant movement can indicate poor support, damaged blades, or incorrect assembly. Stop operating the unit until you identify the cause. Persistent wobble warrants professional inspection.
When You Should Hire an Electrician
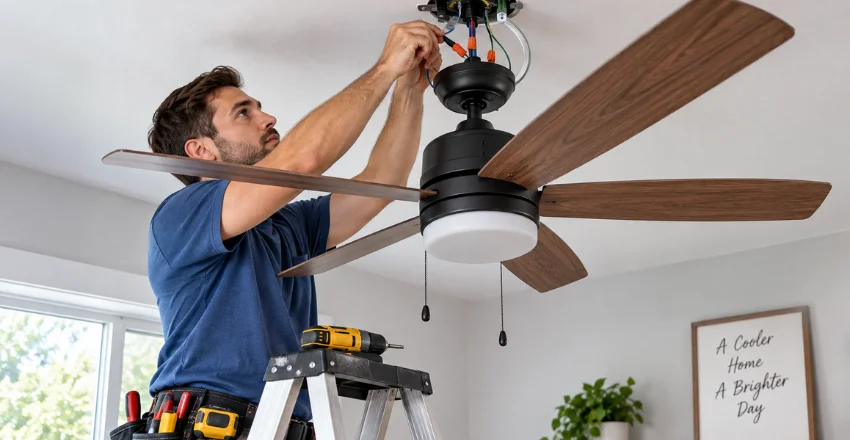
Replacing a fixture differs from adding power at a new ceiling location. The Home Depot recommends professional electrical work when a new location requires wiring and switches. More complicated support or circuit changes can also justify professional help.
Consider hiring a licensed electrician when:
- No electrical box or wiring exists at the desired location.
- The existing box is not fan-rated, and you’re unfamiliar with the structural work.
- Conductors do not match the manufacturer’s wiring diagram.
- You find damaged, deteriorated, or unusual wiring.
- You need a new switch leg or branch-circuit work.
- The ceiling is unusually high, steep, or difficult to access.
- Your local jurisdiction requires licensed work or a permit.
- You cannot confidently verify that the circuit is de-energized.
Electrical work should never depend on trial and error. Stopping at an uncertain connection is safer than experimenting with energized equipment. Professional help costs little compared with repairing unsafe wiring.
How Much Does Professional Installation Cost?
U.S. professional installation commonly ranges from about $146 to $360 in 2026. Angi reports an average near $253, depending on location and project complexity. New wiring, difficult access, and structural changes can raise the price. A simple DIY replacement mainly involves the fixture and any required support hardware.
That calculation changes if you need wiring, new switches, or ceiling repairs. Compare those added tasks before deciding whether DIY still makes sense. Price also varies widely between U.S. cities. Get a local estimate when your project needs more than a straightforward replacement. Ask whether permits, box replacement, switches, and ceiling repair are included.
Related Ceiling and Ventilation Projects
Not every ceiling-mounted fan performs the same job. A room-circulation unit does not replace a bathroom exhaust system that vents humid air outdoors. Homoya’s bathroom fan installation guide covers that separate type of project.
This distinction matters when planning upgrades in bathrooms or other humid areas. Products must also suit their intended environment and installation location. Check the manufacturer’s listing before using any electrical fixture near moisture.
Finish With a Safety Check
Before calling the project complete, watch the unit at every speed. Check that the canopy stays fixed and the blades rotate without excessive movement. Test the light and controls several times. If everything remains stable, the installation is ready for normal use. If anything seems electrically or structurally uncertain, turn off the breaker. Have a licensed electrician correct the problem before operating the fan again.
Frequently Asked Questions
Can I use the electrical box that already holds my light?
Use it only if the box is rated for fan support. A light box can look similar without having the required rating. Replace an unsuitable box before hanging the motor assembly.
How long does installation usually take?
A straightforward light-fixture replacement often takes about one to two hours. Hunter estimates two to four hours or more when no existing wiring is available. Your experience, ceiling access, and model design also affect the schedule.
How Do You Wire a Ceiling Fan to One Wall Switch?
Many models let one switch hot conductor power to both the motor and light. The fan’s manual will show how its specific leads should connect. Remote-controlled models may also use a receiver between house wiring and the unit.
Do I need a permit?
Permit requirements are determined by local jurisdictions rather than one nationwide rule. A simple replacement may be treated differently from new wiring or circuit modifications. Check your city or county building department before changing the electrical system.
Can I install one where no ceiling fixture exists?
That job normally requires new wiring, a suitable support system, and a wall-control plan. It is substantially different from replacing an existing fixture. Home Depot recommends licensed electrical help when new wiring and a switch are required.