How to hang drywall? It is a question many DIY enthusiasts and first-time renovators ask when starting a home improvement project. The process begins with careful planning and preparation, including measuring the room, inspecting studs or ceiling joists for straightness, and ensuring that all electrical and plumbing work is complete.
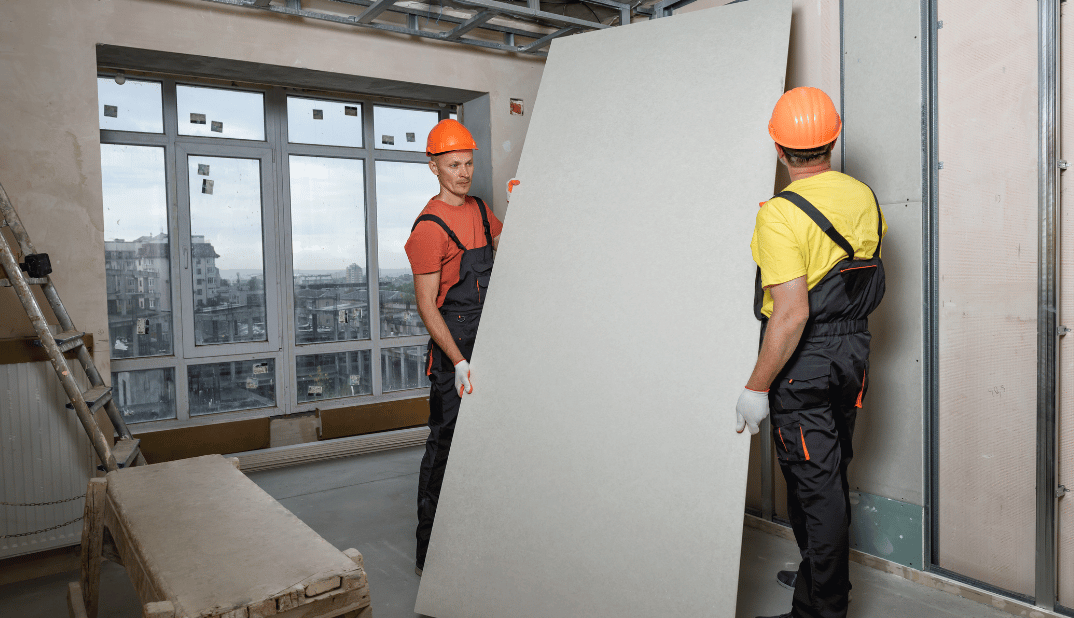
Drywall panels are then cut to size, with precise openings for outlets, switches, and vents, and positioned strategically to minimize seams. When installing walls, panels are typically hung horizontally for strength, while ceiling panels are placed perpendicular to joists and often require a drywall lift or helpers due to their weight.
| Step | Details |
| How to Hang Drywall? | Clear the area, inspect studs/joists for straightness and spacing, and ensure electrical and plumbing work is complete. |
| Measuring & Cutting | Measure panels to size, mark lines with a T-square, score with a utility knife, snap along the scored line, cut backing paper, and smooth the edges. |
| Hanging Wall Panels | Install panels horizontally for strength, fasten screws every 12–16 inches along studs, stagger seams, and leave a 1/8-inch floor gap. |
| Hanging Ceiling Panels | Use a drywall lift or helpers, position panels perpendicular to joists, fasten screws every 12 inches, stagger seams, and work from one side across. |
| Taping & Mudding | Apply drywall tape over seams, cover screws/nail heads, apply 2–3 coats of joint compound, sand lightly between coats, and install corner beads for corners. |
| Sanding & Finishing | Sand with a pole sander or block, wipe dust, inspect for imperfections, reapply mud if needed, and ready for primer/paint/wallpaper. |
| Tools & Materials | Drywall panels, screws/nails, joint compound, tape, corner bead; T-square, utility knife, drywall saw, screw gun, drywall lift, sanding tools, level, pencil/chalk line. |
| Tips | Start at the top for walls or one side for ceilings, stagger seams, leave a small floor gap, work in small mud sections, and use a lift for heavy panels. |
| Common Mistakes | Misaligned seams, overdriving screws, insufficient ceiling support, skipping sanding, and not staggering seams. |
| Estimated Cost | Panels $10–$15 each, joint compound $15–$25 per 5 gal, screws $6–$10/lb, tools $5–$150; professional installation $1.50–$3.00/sq ft. |
How to Hang Drywall?
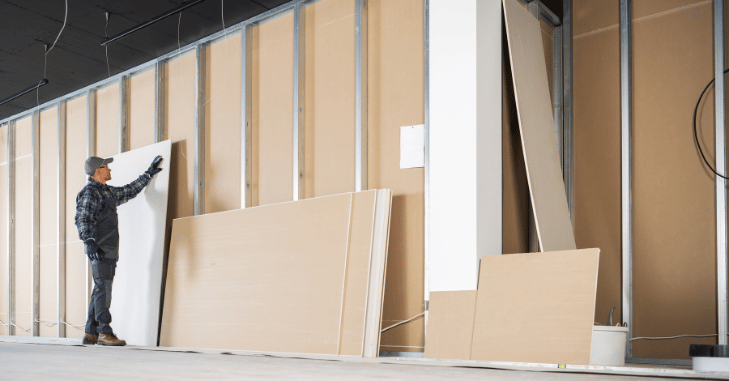
How to hang drywall? Involves a series of well-planned steps that ensure strong, smooth, and professional-looking walls and ceilings. The process starts with proper preparation, including clearing the work area, checking studs or ceiling joists for straightness and proper spacing, and making sure all electrical wiring and plumbing are correctly installed.
Next, drywall panels are measured and cut to fit the space, with precise openings for outlets, switches, and vents. For walls, panels are typically installed horizontally for added strength, while ceiling panels are installed perpendicular to the joists, often requiring a drywall lift or helper assistance due to their weight.
Panels are fastened securely with screws or nails, maintaining tight seams and leaving a small gap at the floor to prevent moisture damage. After the panels are hung, the finishing process begins by taping the joints and applying multiple coats of joint compound, standing lightly between coats for a smooth, even surface.
Understanding Drywall
Drywall comes in large, flat panels made of gypsum plaster sandwiched between thick sheets of paper. It is available in different thicknesses, lengths, and types, including:
- Standard drywall – Suitable for most walls and ceilings.
- Moisture-resistant drywall (green board) – Ideal for bathrooms, kitchens, and other humid areas.
- Fire-resistant drywall (Type X) – Used in areas requiring enhanced fire protection.
- Soundproof drywall – Designed to reduce noise transmission between rooms.
Common Sizes: Drywall panels typically measure 4 feet wide by 8, 10, or 12 feet long. Thicknesses include 1/4”, 3/8”, 1/2”, and 5/8”. Choosing the right size and type depends on your project, wall height, and room requirements.
Tools and Materials Needed
| Category | Items |
| Materials | Drywall panels, drywall screws or nails, joint compound (mud), drywall tape (paper or fiberglass), corner bead (for corners) |
| Tools | Measuring tape, T-square, utility knife, drywall saw, screw gun or drill with drywall bit, drywall lift or panel hoist (optional), sanding block or pole sander, level, pencil or chalk line |
Preparing the Space
Proper preparation is essential for a smooth and successful drywall installation. Start by clearing the area of furniture, debris, and any obstacles to ensure you have enough space to work safely and efficiently. Next, inspect the wall studs or ceiling joists to confirm they are straight, evenly spaced, and free of protrusions; standard spacing is typically 16 inches on center for walls and sometimes 24 inches for ceilings.
Accurate measurement and planning are also critically out your drywall panels to minimize seams and reduce material waste, installing panels horizontally on walls for added strength and vertically on ceilings for better support.
Cutting Drywall Panels
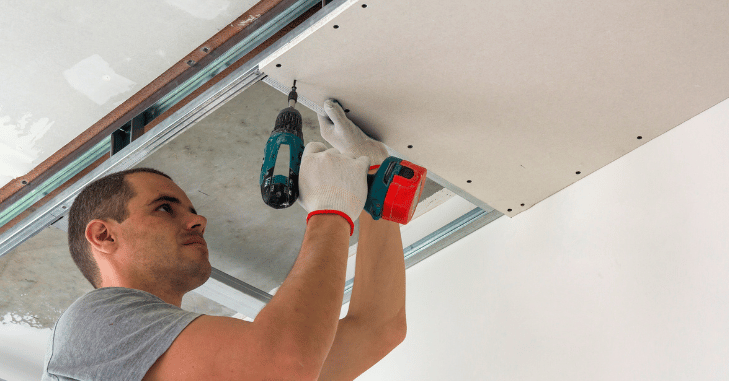
Accurate cutting ensures a professional fit:
- Measure the panel to the required height or length.
- Use a T-square to mark a straight line.
- Score the paper with a utility knife along the line.
- Snap the panel along the scored line.
- Cut the backing paper and smooth the edges with a utility knife.
Tips
- Cut holes for outlets, switches, or vents using a drywall saw or rotary cutting tool.
- For irregular shapes, use a keyhole saw for precise cuts.
Hanging Drywall on Walls
Position the first panel
- Start at the top corner or ceiling junction.
- Place the panel perpendicular to the studs for added strength.
Fasten the panel
- Use drywall screws every 12-16 inches along studs.
- Drive screws slightly below the surface without breaking the paper.
Continue with the remaining panels
- Stagger seams between rows for added stability.
- Leave a 1/8-inch gap at the floor to prevent moisture wicking.
Hanging Drywall on Ceilings
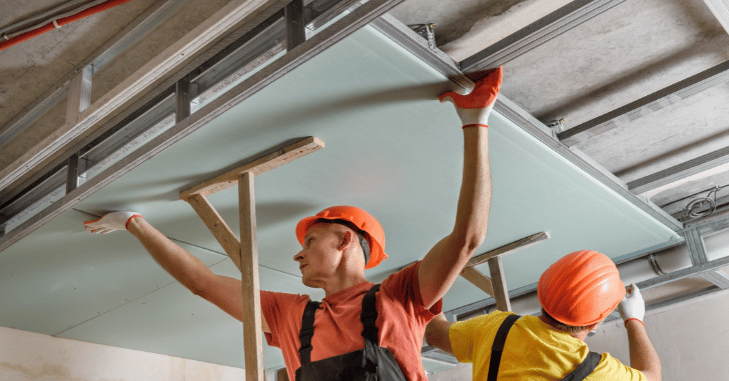
Ceiling drywall is heavier and more challenging to install than wall panels, requiring careful handling and proper support. To make the process easier, use a drywall lift or enlist the help of at least two people to hold the panels in place.
Position each panel perpendicular to the ceiling joists to maximize strength and stability, and fasten screws at 12-inch intervals along the joists to secure the drywall. For best results, start at one side of the ceiling and work your way across, keeping the panels aligned and staggering the seams to maintain structural integrity and create a smooth, professional finish.
Taping and Mudding Drywall
After hanging all drywall panels, the next step is to finish the seams and corners to create a smooth, professional surface. Begin by applying drywall tape over all joints; paper tape is most used, though fiberglass tape is also an option. Next, apply the first coat of joint compound, or mud, spreading a thin layer over the tape with a 6-inch taping knife and covering all screw or nail heads.
Allow the mud to dry completely, then sand lightly to even out any rough spots. Apply second and third coats with a wider knife, typically 10 to 12 inches, to smooth out the seams further. For corners and edges, install corner beads on outside corners and cover them with joint compound to achieve straight, clean lines.
Sending and Finishing
- Use a pole sander or sanding block with fine-grit sandpaper.
- Wipe down surfaces to remove dust.
- Inspect for imperfections and reapply mud if needed.
- The drywall is now ready for primer, paint, or wallpaper.
Common Mistakes to Avoid
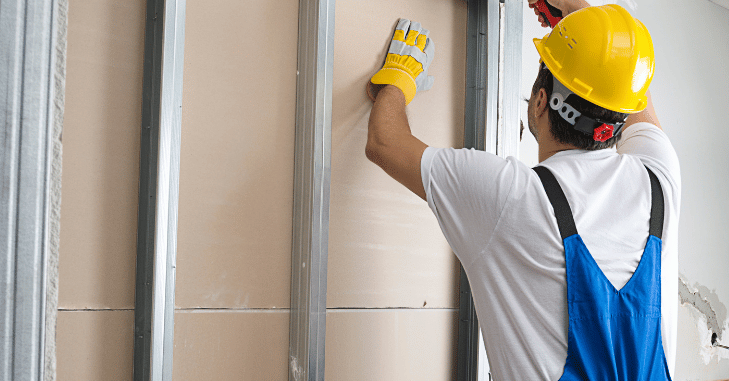
- Misaligned seams – Can create weak spots and uneven surfaces.
- Overdriving screws – Breaks paper and weakens holding strength.
- Insufficient support for ceilings – Panels can sag or crack.
- Skipping sanding between coats leads to an uneven finish.
- Not staggering seams – Weakens wall structure and increases crack risk.
Drywall Installation Tips
When installing drywall, following these key techniques can make the process easier and produce a professional result. Always start at the top when hanging wall panels or along one side when working on ceilings to ensure proper alignment. For heavy panels, using a drywall lift can reduce physical strain and improve placement accuracy.
Leave a small gap at the floor to prevent moisture damage from affecting the drywall over time. Stagger seams between panels to create stronger, more stable walls, and work in small sections when applying joint compound to ensure even drying and easier sanding for a smooth, flawless finish.
Estimated Cost and Materials
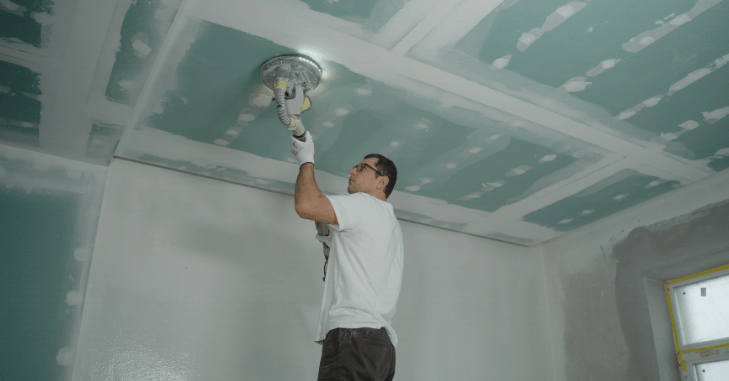
Costs depend on room size, panel type, and labor:
- Drywall panels: $10–$15 per 4×8 ft sheet (standard 1/2” thickness)
- Joint compound: $15–$25 per 5-gallon bucket
- Drywall screws: $6–$10 per pound
- Tools: Screw gun ($50–$150), drywall saw ($10–$30), taping knives ($5–$20)
Hiring professionals may cost $1.50–$3.00 per square foot, including materials and finishing.
Conclusion
How to hang drywall? It is a question that many DIY enthusiasts and first-time renovators face when taking on a home improvement project. Following a careful, step-by-step approach—from proper preparation and precise measuring to correctly hanging panels, taping, mudding, sanding, and finishing- ensures strong, smooth, and professional-looking walls and ceilings.
By understanding the tools, materials, and techniques involved, avoiding common mistakes, and working methodically, even beginners can achieve durable and aesthetically pleasing results, whether you are finishing a basement, remodeling a room, or updating walls and ceilings.
Want to know about Weather Stripping Doors: A Complete Guide to Sealing Drafts, Boosting Energy Efficiency, and Enhancing Home Comfort Check out our Decoration category.
FAQs
Work your way outward from a stud in the center of the panel. Continue hanging panels over any openings for windows and doors along the top of the wall.
In addition to making it simpler to tape a lengthy joint at the 4′ level rather than moving up and down with a joint every 4′, hanging horizontally also makes any flaws in the framing less noticeable.
Although hanging drywall might seem simple on YouTube, even minor mistakes can lead to issues. Common errors include overdriving screws, not staggering joints, and incorrect screw spacing.
Starting at the top makes it easier to align the drywall since you want the line between the wall and the ceiling to be straight. The floor trim will conceal any gaps at the bottom or any drywall that needs to be cut to fit.
Drywall is typically laid horizontally, particularly in residential construction. Compared to vertical installation, this approach produces fewer seams by aligning the long edge of the drywall sheets over the studs.