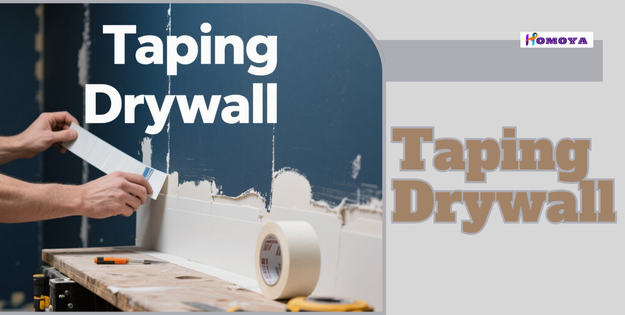
Understanding the Basics of Taping Drywall
Taping drywall is one of the most critical steps in creating smooth, professional-looking walls. While it may seem like a simple task, the process requires the right tools, proper technique, and plenty of patience. When done correctly, drywall taping conceals seams, reinforces joints, and provides a smooth surface that’s ready for painting or wallpapering.
However, rushing through the job or overlooking key details can lead to cracks, bumps, or visible lines that ruin the final finish. In this guide, we’ll walk through the tools you need, the step-by-step process, and the common mistakes to avoid so you can tape drywall like a seasoned professional.
Key Points for Taping Drywall
| Topic/Step | Short Description |
|---|---|
| Tools Needed | Gather tape, joint compound, knives, mud pan, and sanders. |
| Drywall Tape Types | Available in paper or mesh, each suited for different needs. |
| Preparation | Ensure panels are secured and seams are clean before taping. |
| Filling Gaps | Apply a light coat of compound to wide gaps before taping. |
| First Coat | Spread a thin layer of joint compound over seams. |
| Embedding Tape | Press tape into compound and smooth out bubbles or wrinkles. |
| Covering Tape | Apply another thin coat of mud to cover the tape. |
| Drying Time | Allow compound to dry fully before the next step. |
| Second Coat | Use an 8–10 inch knife to widen the compound layer. |
| Third Coat | Apply a 12-inch knife coat extending beyond seams. |
| Inside Corners | Fold paper tape and smooth it into place with a corner trowel. |
| Outside Corners | Apply compound over corner beads and feather outward. |
| Sanding | Use light, circular motions to smooth dried compound. |
| Dust Removal | Clean all dust before priming or painting. |
| Common Mistake 1 | Avoid using too much joint compound. |
| Common Mistake 2 | Don’t rush—let each coat dry properly. |
| Common Mistake 3 | Always feather edges to blend seamlessly. |
| Common Mistake 4 | Remove bubbles and wrinkles immediately. |
| Common Mistake 5 | Use the right tape for the right job. |
| Pro Tip 1 | Keep tools clean to prevent streaks. |
| Pro Tip 2 | Work in bright lighting to spot flaws. |
| Pro Tip 3 | Apply steady pressure when smoothing mud. |
| Pro Tip 4 | Prime walls to reveal hidden imperfections. |
| Pro Tip 5 | Practice on scrap drywall before tackling large areas. |
Essential Tools and Materials for Taping Drywall
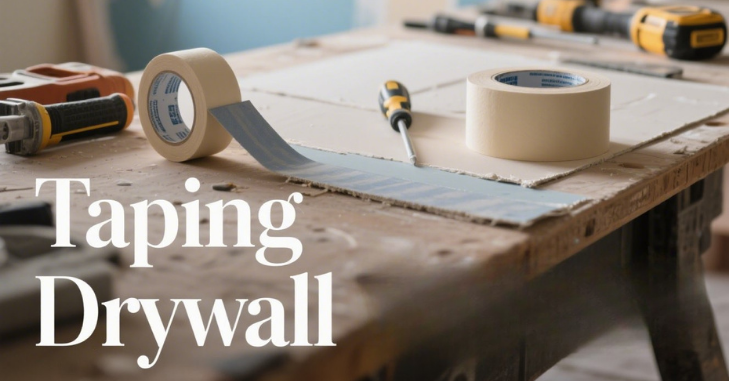
Having the proper tools on hand before you begin makes the process more efficient and helps achieve professional-quality results. Here’s what you’ll need:
- Drywall tape – You can find drywall tape in both paper and mesh options.
- Joint compound (mud) – premixed or powdered forms.
- Taping knife sets are commonly available in 4-inch, 6-inch, and 12-inch sizes.
- Hawk or mud pan – for holding and carrying compound.
- Corner trowel – perfect for inside corners.
- Sanding sponge or pole sander – for smoothing the surface.
- Utility knife and drywall saw – for cutting tape and trimming edges.
Having these essentials ready helps you move through the taping process without interruptions.
Step 1: Preparing the Drywall Surface
Preparation is key to a flawless finish. Make sure that drywall sheets are properly screwed or nailed into place and that no screws are sticking out above the surface. Clean away any dust, debris, or rough paper edges from seams.
If there are wide gaps between panels, fill them lightly with joint compound before applying the tape. This step prevents future cracks and ensures a stable surface.
Step 2: Applying Joint Compound to Seams

Begin by applying a small amount of joint compound onto your taping knife. Apply it evenly along the seam where two drywall sheets meet. The compound should extend slightly beyond the joint to allow the tape to adhere smoothly.
Keep the layer thin; too much mud at this stage will cause lumps under the tape, while too little will not hold the tape properly. Aim for a consistent, feathered coat.
Step 3: Embedding the Drywall Tape
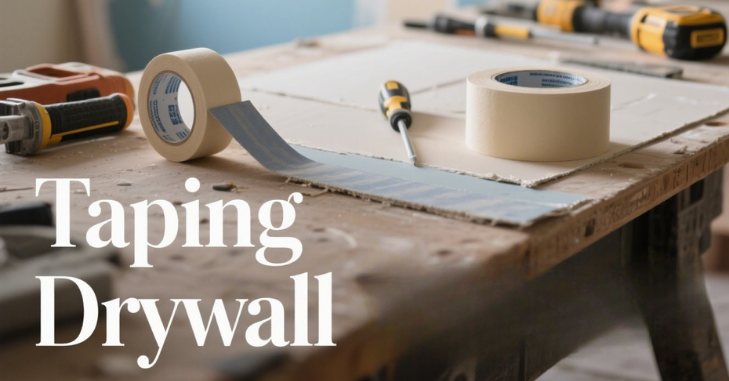
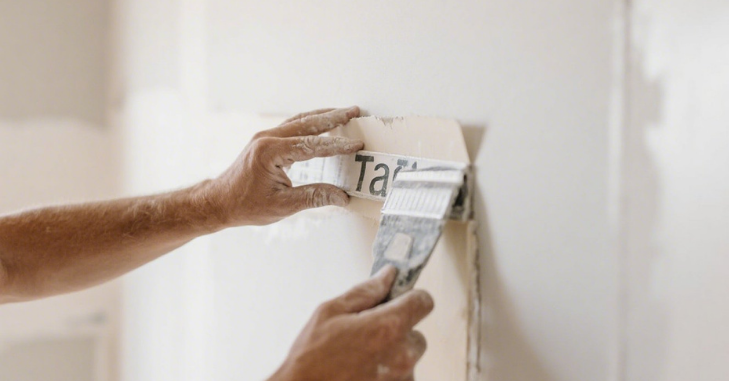
Once the joint compound is applied, press drywall tape directly onto the seam. Use a 4- or 6-inch knife to embed the tape into the compound gently. Apply even pressure while smoothing out bubbles or wrinkles.
For paper tape, make sure the crease aligns with the seam for a snug fit. Mesh tape is self-adhesive, which makes it quicker to apply, but it typically requires more compound to achieve a smooth finish.
Step 4: Covering the Tape with Compound
After embedding the tape, cover it with another thin layer of compound. Smooth it out with long, even strokes to prevent ridges.
Let the joint compound fully dry before proceeding to the following step. Drying times vary depending on humidity and temperature, but generally range from 12 to 24 hours.
Step 5: Building Additional Layers of Compound
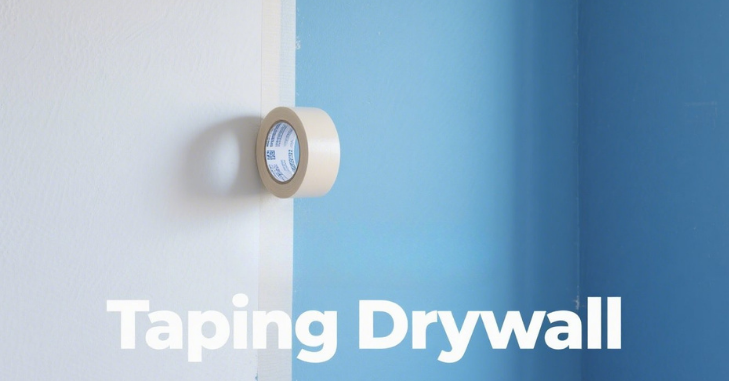
Drywall taping requires multiple coats to achieve a smooth finish. After the first coat has dried, spread on a second layer of compound with a wider knife, usually 8 to 10 inches, and blend the edges so they transition naturally into the wall. Apply a third coat using a 12-inch knife, extending it farther past the seam to make the joint disappear. Be sure each coat is completely dry before adding the next.
Step 6: Taping Inside and Outside Corners
Corners require special attention. For inside corners, fold paper tape along the crease and press it into a thin layer of compound using a corner trowel. Smooth out both sides evenly for a crisp finish.
For outside corners, metal or plastic corner beads are usually installed before taping. Spread joint compound over the corner bead and smooth it outward with broad strokes to ensure durability and a strong finish.
Step 7: Sanding for a Smooth Finish

Once the final coat of compound has dried, sanding is necessary to achieve a professional look. Use a fine-grit sanding sponge or pole sander to smooth the surface gently.
Avoid pressing too hard, as this can create uneven spots or expose the tape. Rather than applying heavy pressure, work in gentle circular motions and review your progress often. Dust the area thoroughly after sanding to prepare for painting or priming.
Common Mistakes to Avoid When Taping Drywall
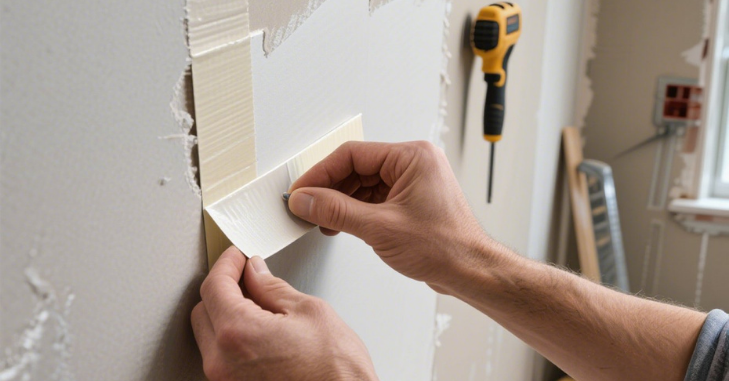
Using Too Much Joint Compound
Applying thick layers of compound can lead to cracks, shrinkage, and longer drying times. Thin, even coats produce smoother results.
Skipping Proper Drying Time
Rushing between coats is a standard error. Each layer needs adequate drying time; otherwise, the compound may peel or crack.
Failing to Feather Edges
Hard lines where compound ends will show through paint. Always feather the edges of each coat to blend seamlessly with the wall.
Ignoring Bubbles and Wrinkles in Tape

Air pockets under tape weaken the bond and will be visible later. Smooth them out immediately while embedding the tape.
Using the Wrong Type of Tape
Paper tape is ideal for seams and corners, while mesh tape works better for minor repairs. Choosing the wrong type can affect the durability of the finish.
Professional Tips for a Flawless Finish
- Always keep your tools clean to prevent dried compound from leaving streaks on the surface.
- Work in well-lit areas to easily spot imperfections.
- Apply steady, consistent pressure when smoothing compound for even results.
- Prime the drywall after sanding to reveal hidden flaws before painting.
- Practice on scrap drywall pieces to build confidence before tackling a whole room.
Conclusion
Mastering the art of taping drywall takes practice, but following the proper steps makes the process much easier and more effective. From preparing the seams and embedding the tape to applying multiple layers of compound and sanding for perfection, each stage contributes to a flawless finish.
By avoiding common mistakes, like using too much mud or rushing the drying process, you’ll achieve results that look professional and last for years. Whether you’re a DIY homeowner tackling your first project or someone looking to refine your skills, taping drywall correctly is the key to durable, smooth, and beautiful walls.
Want to know about “Can You Paint Pressure Treated Wood? All You Need To Know About, Tips, Process, Challenges, Best Types, Common Mistakes to Avoid, And Much More” Check out our “Crafts & Tools” category.
Frequently Asked Questions (FAQs)
The timeline depends on the size of the project and drying conditions. A small room may take 2–3 days, including drying between coats, while a whole house can take up to a week.
Paper tape is preferred for seams and inside corners because it’s stronger and more durable. Mesh tape is self-adhesive and more manageable for beginners, but often requires more compound and isn’t as strong for long seams.
Bubbles occur when there isn’t enough joint compound beneath the tape. Apply a thin but full layer of compound before embedding the videotape, then smooth it out with firm, even strokes.
While it’s possible to minimize sanding by applying thin, smooth coats, some sanding is almost always necessary for a flawless finish. Light sanding helps remove ridges and ensures the wall looks professional.