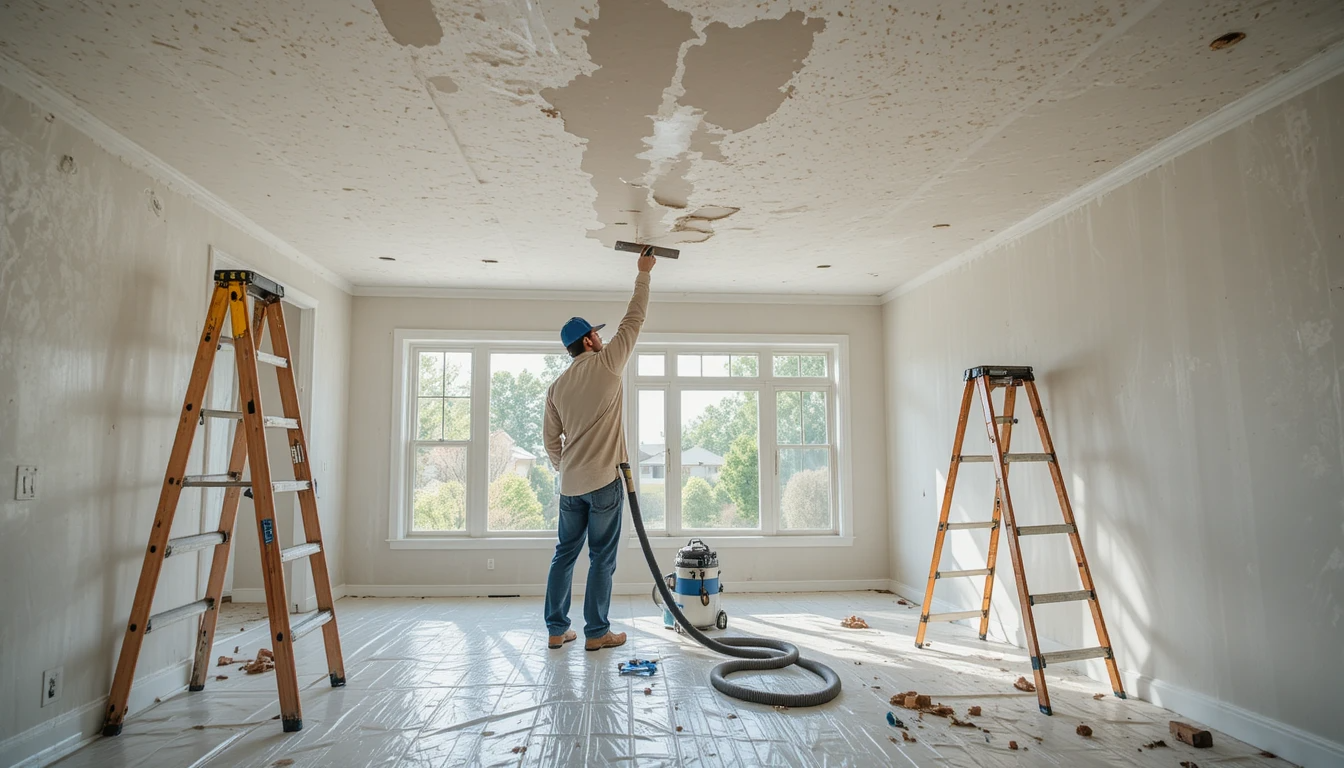
Removing popcorn ceilings has become a vital renovation trend for homeowners and property managers aiming to modernize spaces and increase real estate value. Typical professional projects range from $3–$6 per square foot for standard rooms, with additional costs for larger or high-ceiling areas. Essential steps include clearing furniture, using protective gear, testing for asbestos, and applying precise scraping techniques.
This process improves aesthetics, enhances lighting, and reduces dust accumulation, contributing to healthier indoor environments. Over time, successful removal increases rental appeal, resale potential, and long-term property value. Experienced contractors and careful planning ensure smooth finishes and durable results. Ultimately, removing popcorn ceilings leaves a lasting legacy of modern, safe, and visually appealing interiors.
| Basics | Details |
| Room Prep | Clear furniture and cover floors |
| Seal Openings | Tape vents and doorways securely |
| Safety Gear | Goggles, respirator, gloves, clothing |
| Tools Needed | Scraper, putty knife, ladders, bucket |
| Optional Tools | Drywall sander, extension pole, vacuum |
| Asbestos Test | Check older homes before scraping. |
| Ventilation | Ensure airflow to reduce dust. |
| Wet Ceiling | Spray water before scraping gently. |
| Scraping | Use a putty knife systematically on the corner. |
| Debris Clean | Collect and vacuum fine particles. |
| Repair | Fix cracks with joint compound. |
| Finish | Sand, prime, and paint the ceiling |
| Benefits | Smooth ceiling, bright, clean, modern |
| Cost | $3–6 per sq. ft., DIY possible |
| Material | Drywall, plaster, knockdown, decorative options |
| Maintenance | Inspect, clean, and repair regularly long-term. |
Removing Popcorn Ceilings
Prepare the Room
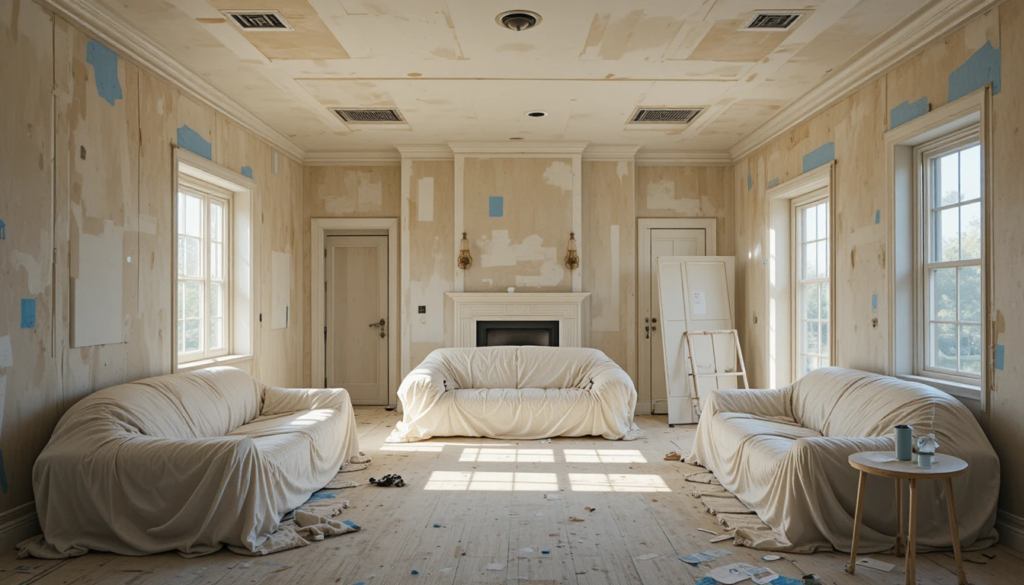
Before removing popcorn ceilings, clear the room of furniture and valuables, and cover floors with heavy-duty plastic sheeting. Seal vents and doorways to prevent dust from spreading. Equip yourself with safety goggles, gloves, a respirator, and protective clothing. Use painter’s tape to protect trim, ceiling lights, and fixtures. Thorough preparation ensures a safer, cleaner workspace and reduces the risk of property damage during ceiling removal.
Gather Tools and Equipment
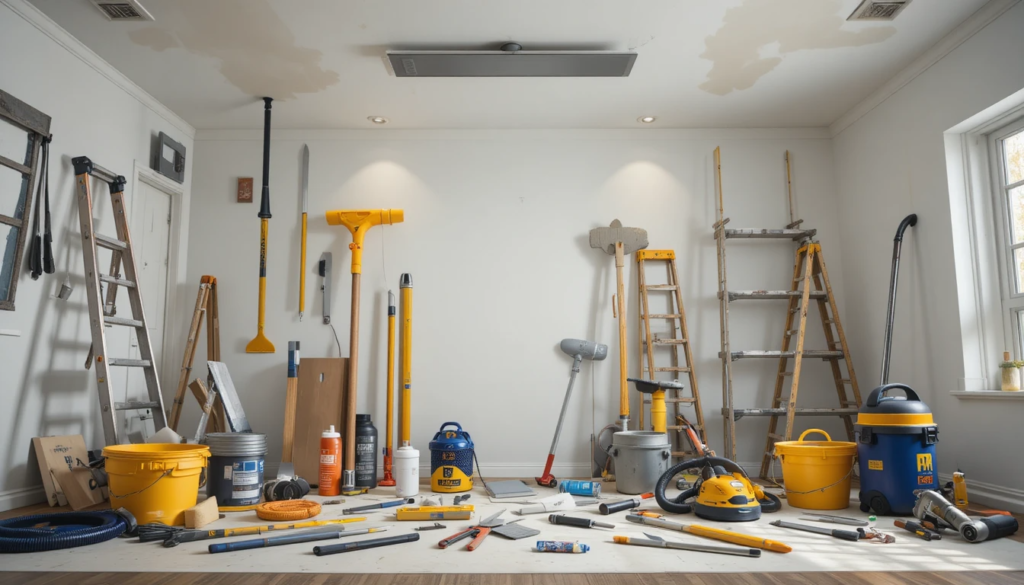
For professional removal, essential tools include a wide ceiling scraper, a putty knife, a spray bottle, ladders, scaffolding, and a bucket for debris. Optional equipment, such as an extension pole, a drywall sander, and a dust extraction vacuum, improves efficiency. Having the right tools reduces physical strain, ensures smooth removal, minimizes ceiling damage, and provides a more uniform surface for finishing or painting afterward.
Test for Asbestos and Ensure Safety
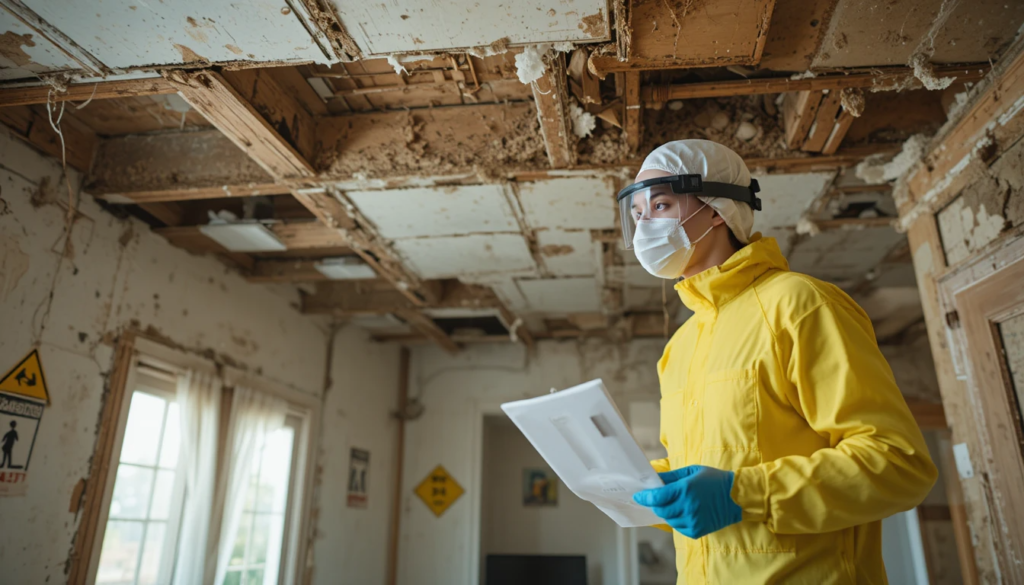
Before removing popcorn ceilings, older homes may contain asbestos, which requires testing with a professional kit or a licensed contractor. Wear a respirator, goggles, gloves, and protective clothing to prevent inhalation or skin contact. Ensure proper ventilation and restrict children or pets from the area. Following strict safety measures protects health and prevents long-term respiratory problems.
Wet and Scrape the Ceiling
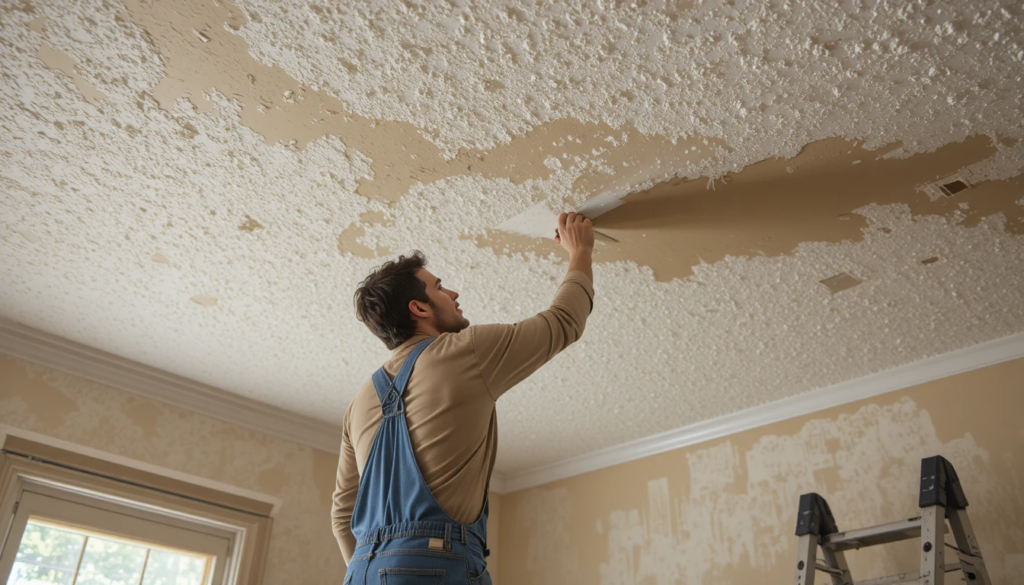
When removing, lightly spray small sections with water to soften the texture. Wait 10–15 minutes, then gently scrape with a wide putty knife or ceiling scraper. Work systematically from one corner to another to avoid drywall gouges. Proper wetting prevents dust, allows efficient removal, reduces material waste, and ensures the ceiling remains intact and smooth, ready for repairs, priming, or painting.
Clean, Repair, and Finish
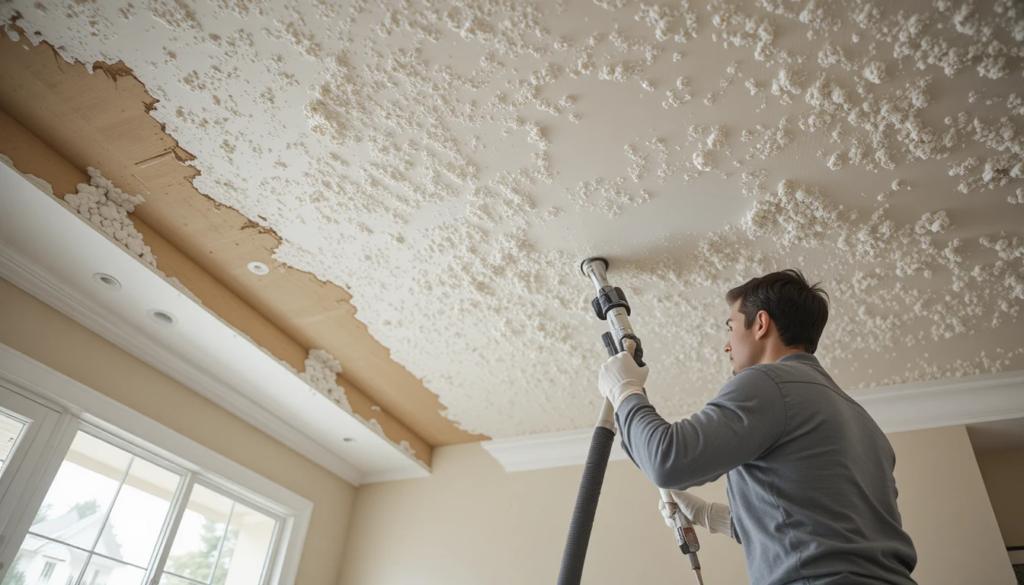
After removing popcorn ceilings, carefully collect debris and vacuum with a HEPA-filtered vacuum to remove fine particles. Repair gouges or cracks with joint compound, sand smooth, and apply primer before painting or adding a new finish. Proper cleanup and repairs protect property value, improve aesthetics, and create a modern, clean, and visually appealing ceiling that enhances natural lighting and long-term marketability for homes or rentals.
Benefits
- Removing popcorn ceilings enhances room aesthetics by creating a smooth, modern look that reflects light better, making spaces appear brighter and more spacious.
- It also simplifies cleaning, reduces dust accumulation, and improves indoor air quality.
- Homeowners benefit from increased property appeal and resale potential, as contemporary interiors are more attractive to buyers and tenants.
- Overall, smooth ceilings elevate both comfort and long-term value.
Cost and Budget Considerations
Professional removal typically costs $3–$6 per square foot, depending on room size, ceiling height, and material condition. DIY projects may save labor but require tools such as scrapers, ladders, scaffolding, and protective gear. Budgeting should include debris disposal, repair compounds, primers, and paint. Proper planning ensures expenses are controlled.
Material and Texture Options
Once popcorn is removed, homeowners can choose from smooth drywall, knockdown textures, Venetian plaster, or decorative finishes. Each option affects room appearance, maintenance requirements, and cost. Smooth ceilings create a modern look, while textured alternatives can hide minor imperfections. Selecting the right finish ensures a balance of aesthetics, durability, and long-term appeal.
Safety and Environmental Concerns
When removing popcorn ceilings, older homes may contain asbestos or lead paint. Testing is essential before scraping. Wear respirators, gloves, goggles, and protective clothing to prevent health hazards. Ensure proper ventilation and safe debris disposal. Compliance with safety standards protects residents and reduces legal risks. Following professional safety practices guarantees a healthier indoor environment.
Long-Term Maintenance and Care
- Smooth ceilings after removal require periodic inspections for cracks, water damage, or minor imperfections.
- Regular cleaning prevents dust buildup, and prompt repair of leaks preserves ceiling integrity.
- Maintaining a well-finished ceiling extends its lifespan, enhances lighting reflection, and protects the property’s aesthetic and market value.
- Consistent care ensures long-term satisfaction for homeowners or tenants and reduces the need for expensive future renovations.
Conclusion
Removing popcorn ceilings not only modernizes home interiors but also enhances lighting, aesthetics, and overall property value. Proper preparation, safety measures, and professional techniques ensure smooth, durable finishes while protecting occupants. Long-term maintenance preserves ceiling quality, prevents damage, and supports rental or resale potential. By investing in careful removal and finishing, homeowners and property managers create a lasting impact, making removing popcorn ceilings a wise and valuable home improvement choice.
Want to know about Storm Damage Roof Repair: Expert Solutions for Residential and Commercial Properties to Preserve Value, and Maximize Real Estate Returns Check out our Roof Repair category.
FAQs
DIY removal is possible if the ceiling is asbestos-free. Safety gear like respirators, gloves, and goggles is essential to prevent dust inhalation and maintain health.
Standard tools include scrapers, putty knives, ladders, plastic sheeting, and buckets. Optional tools like drywall sanders or dust extraction vacuums improve efficiency and reduce cleanup effort.
Painting may temporarily improve appearance, but it does not address texture issues, dust accumulation, or asbestos hazards. Complete removal ensures a smoother, modern, and safer ceiling surface.
Average costs range from $3 to $6 per square foot. Larger rooms, high ceilings, or asbestos testing can increase labor and material expenses. Proper budgeting prevents unexpected costs.
Clear furniture, cover floors with heavy-duty plastic, seal vents, and ensure proper ventilation. Protective gear and tape around fixtures prevent damage and limit dust spread.